Starting Strength Coaches Grant and Connor both love their Brikka pots. Check out Grant's video here on the difference between a Moka and a Brikka and read Connor's how to article below!
How To Make a Brikka Espresso
By Connor King
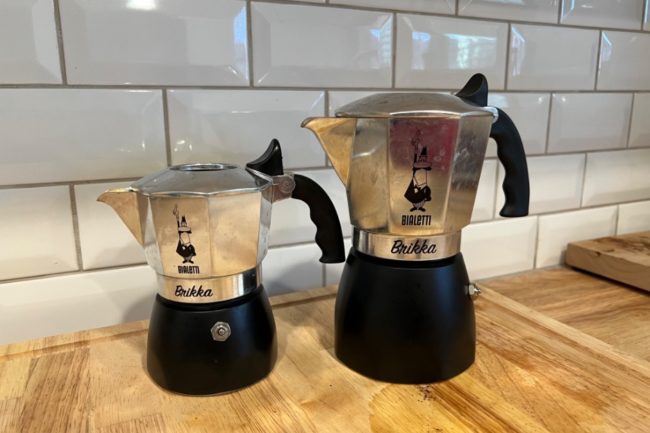
2 Cup and 4 Cup size Bialetti Brikka pots
I am by no means a coffee expert, a purest, or even a coffee snob. I enjoy a large cup of 7/11 breakfast blend as much as the next guy and when my wife insists on Starbucks, I refer to the sizes as “small, medium, and large”.
However, I am often short on time and someone who appreciates a strong cup of espresso on a budget. Since receiving one as a gift from my boss Grant, I have come to rely on my Bialetti Brikka pot for my morning coffee before coaching and as my pre-workout before lifting.
I start each day with a quality cup of espresso in less than 5 minutes using an inexpensive tool that is easy to maintain and doesn’t take up a ton of counter space. So, let’s talk about how to add more espresso into your life.
Espresso Vs. Coffee?
Despite what you may have heard, espresso is not different from coffee but rather a category of coffee. It distinguishes itself by its preparation method originating in Italy. Espresso utilizes finely ground beans and high water pressure (9 – 10 bars) to produce a small but strongly flavored “shot.”
A variety of beans and roast degrees can be used. A 1 ounce shot of espresso can average roughly 60 mg of caffeine compared to a traditional drip coffee yielding about 15mg per ounce.
How it Works
The Brikka works similar to a standard stove top coffee percolator consisting of 3 chambers that store water, coffee grinds, and the finished espresso, respectively.
The Brikka works on both gas and electric stoves and comes in a 2 cup and 4 cup size. During the brew, high pressure pushes hot water through the chamber of ground coffee beans. When the ground coffee and hot water come into contact, microbubbles of carbon dioxide are released.
These suspended microbubbles attach to oils present in coffee and float to the top of the beverage once poured creating a foamy “crema.”
All About the “Crema”
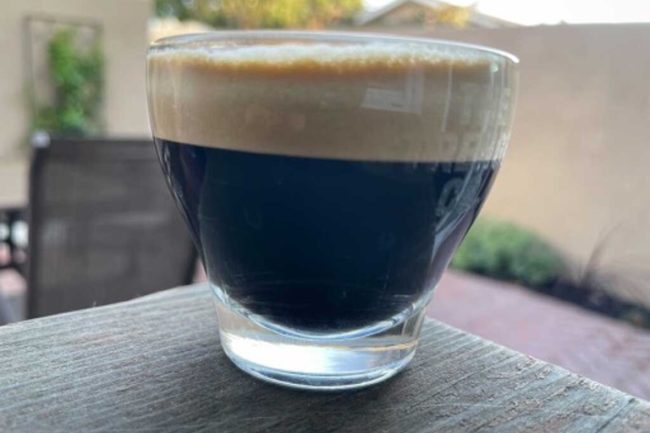
What separates the Brikka from a standard percolator or a moka pot is the addition of a weighted pressure valve, which produces a thick layer of “crema” foam atop of your espresso when brewing. Many coffee aficionados pay big bucks for high pressure espresso machines that produce this coveted crema.
This thick golden-brown froth is a sign that you have all of your brewing variables selected correctly. Many people think filtered water makes better coffee than tap and others suggest specific blends of coffee beans to produce the best crema.
Everyone seems to have their own preference but the rest of our article should help you with the technique required to make the best cup of coffee with your Brikka. Let’s take a closer look at the process.
How to use a Brikka
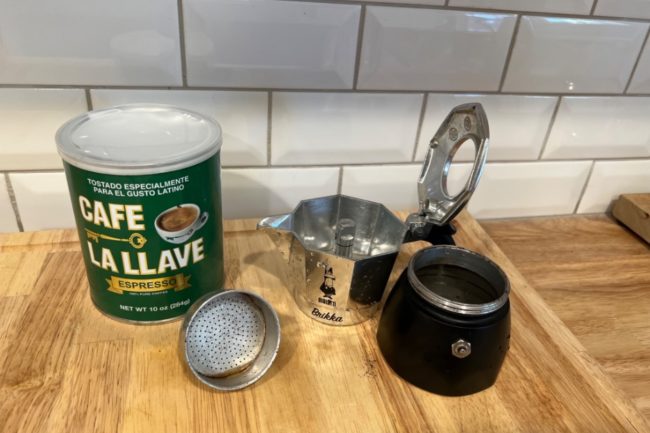
First disassemble the three components of your Bialetti Brikka.
Use the coffee collector to measure the right amount of water. Too much or too little water will negatively affect your ability to create crema.
The easiest way to ensure the correct amount is to use an espresso shot glass as a measuring cup. If you do not have one your Brikka will come with a plastic measuring cup and for a 2-cup brikka I recommend about 90ml of water. You can also use a food scale to measure out the right amount of water.
Pour the water from the collector into the water chamber.
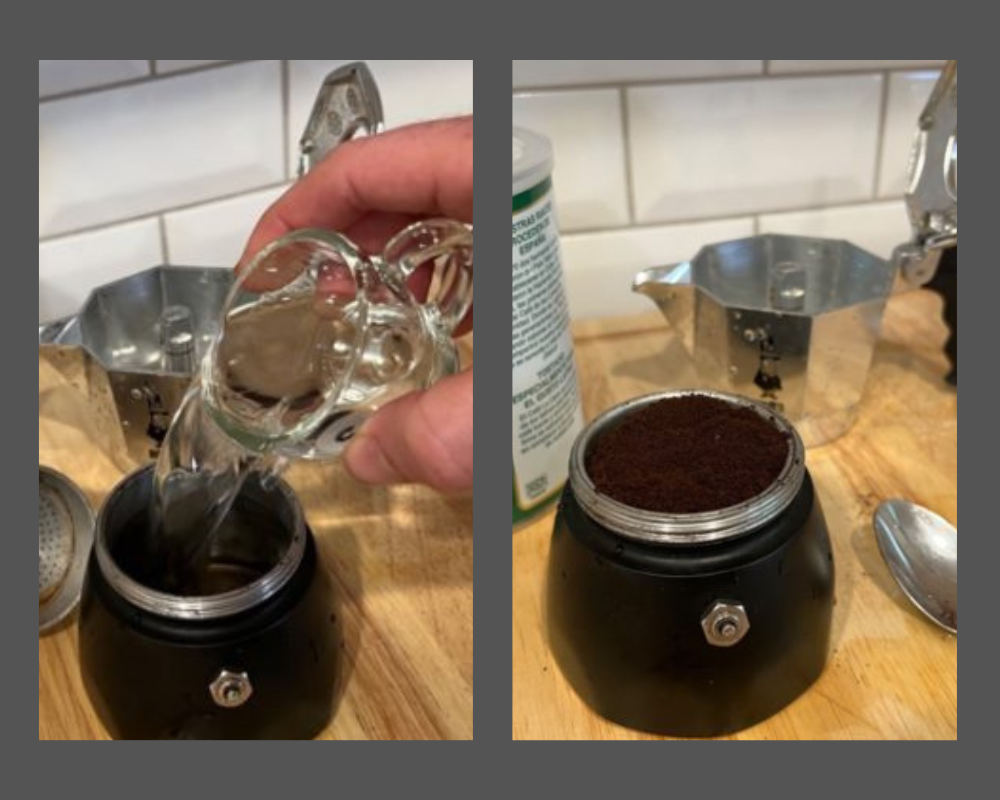
Insert funnel into water chamber. Carefully scoop ground espresso into funnel just below the top. Do not tamp grounds down. Give a gentle shake to level the the grounds. Remove any grounds on the edge of funnel as this will affect the seal.
A note on coffee: I have had great results with pre-ground store bought espresso and I appreciate the convenience it offers. Not taking extra time to grind or having to worry about getting the grind coarseness “just right” is a plus.
Should you choose to grind your own beans, set your grinder to “fine” or the “espresso” setting. You can use the funnel to measure beans. Use roughly 25 grams of ground coffee for the 4 cup model and 15 for the 2 cup. More on coffee recommendations later.
Tightly screw the coffee collector and water chamber together. Do not use the handle for leverage.
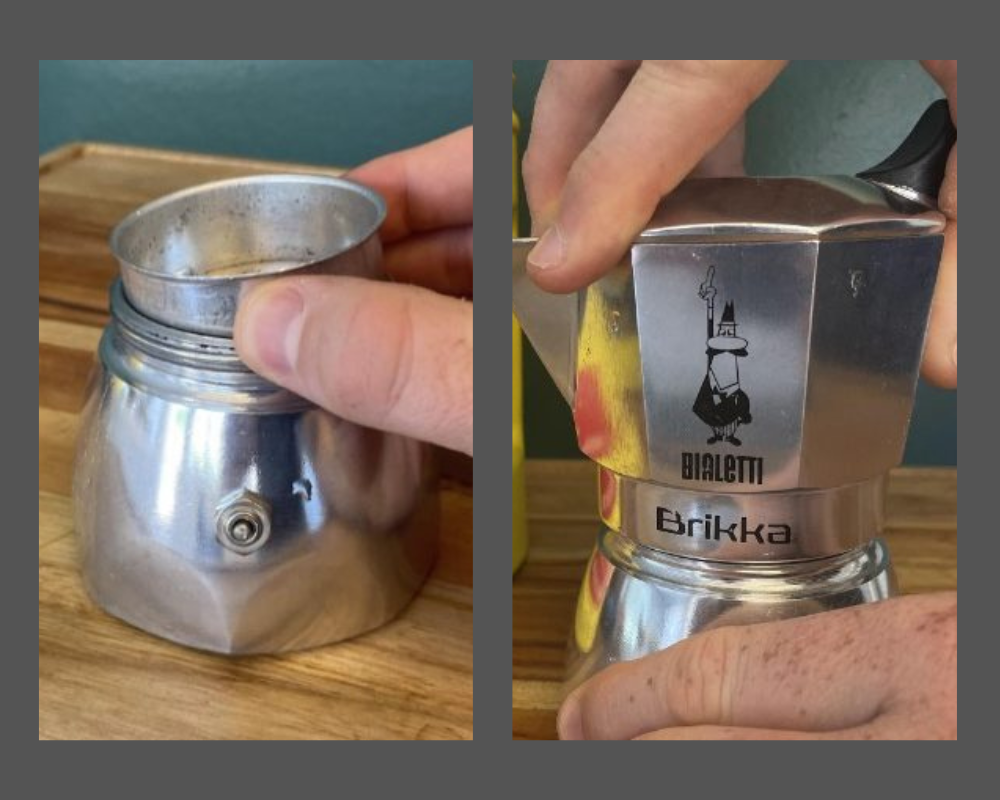
Select your stove’s burner size to fit bottom of the Brikka pot. For gas stovetop, make sure the flame is not larger than bottom of pot. The flame should not come around the sides of the pot.
I have found that this is a very important important part of the process. Everyone’s stove settings are different this tip helps heat the Brikka pot to the right temperature at the right pace to make a great espresso.
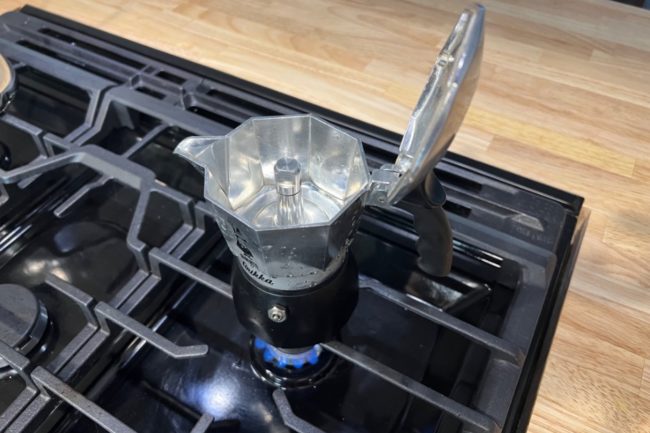
The pot will brew for about 2-4 minutes. You may begin to hear a gurgling sound and begin to see coffee trickle from the valve and collect at the bottom of collector.
You will start to hear more noises at this point and the froth will begin to form within seconds. The newer style Brikka’s have an internal pressure valve and once adequate pressure is built up you will hear it release and air will begin to come out with the crema making a “hissing” sound .
The Brikka chamber will begin to fill with your delicious espresso.
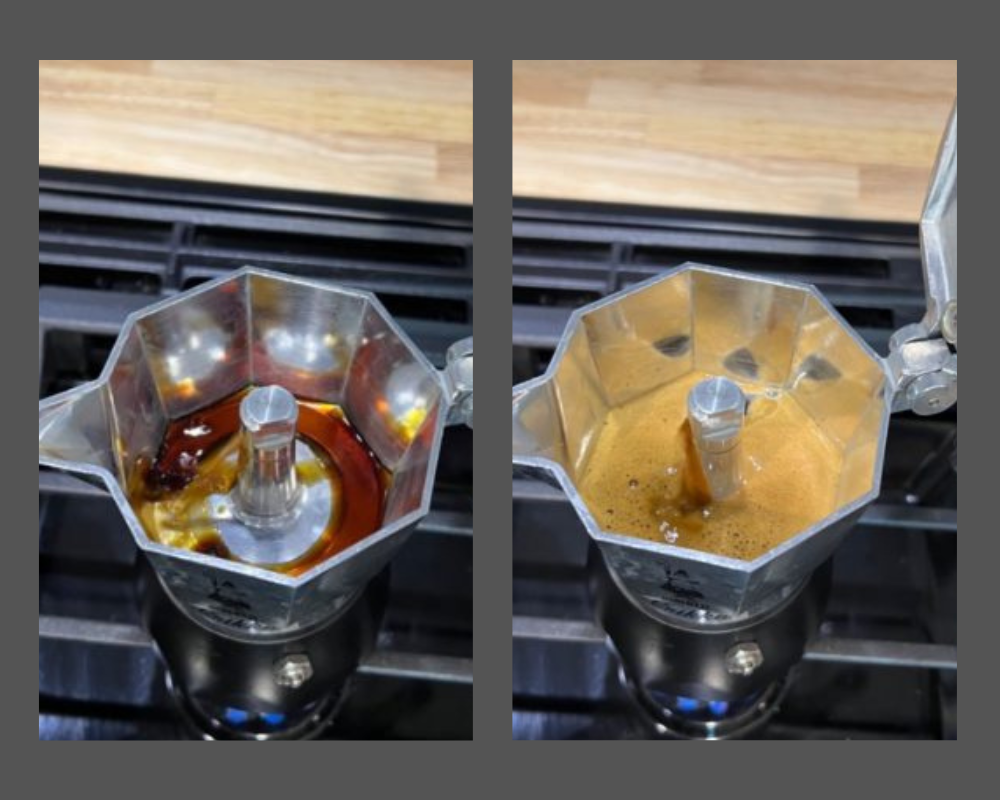
Pour your coffee into your espresso glass within 5 seconds of foam appearing to avoid burning off the crema. You should turn off your stove while the pot is still filling with your espresso (once it already has a steady flow coming into the upper chamber).
The key here is not to add too much heat. If the burner is too high or you leave the burner on for too long, you will see steam billowing as the upper chamber is filling and you might see the espresso begin to boil. Either of these scenarios can burn off your crema or leave you with bitter espresso.
There is a little art and a little science into making the perfect cup. Like most worthy endeavors in life, do not be discouraged if it takes you a few tries to get it right. Your effort will be worth it.
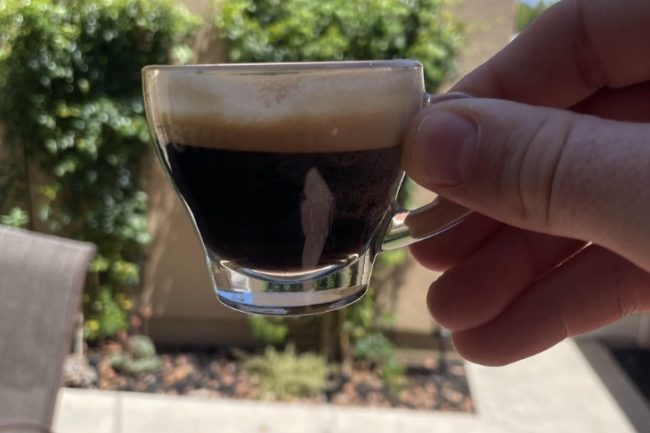 Bonjourno!
Cleaning & Maintenance
Let cool, disassemble , remove grounds and wash the pot by hand with warm water. Dry thoroughly with a towel and do not reassemble while wet to avoid oxidation.
Every few months I recommend a deeper clean by completely disassembling and checking all gaskets, funnel, filter plate, and washers for wear. You can do a “cleaning brew” by running a 50/50 vinegar and water solution through the pot.
Coffee and more
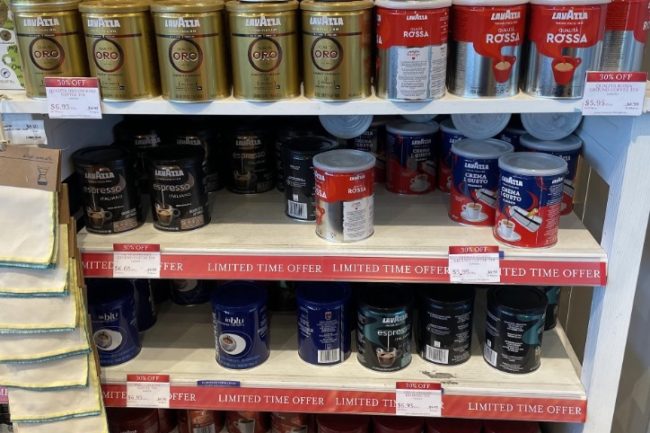
Quality ground espresso can be found at most grocery stores in the coffee aisle. I am partial to “Cafe’ Bustelo” espresso ground coffee and the various “Lavazza” options. We also like Bialetta Espresso blends at our gym. Discovering new flavors and finding your preferences is a fun process.
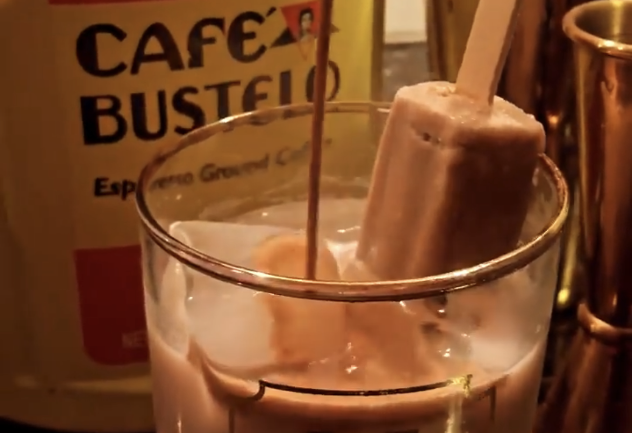
Many recipes benefit from adding fresh espresso. I have used my Brikka to spice up everything from cocktails to protein shakes to homemade tiramisu.
These pots have been such a hit with our gym members that we became a Bialetti licensed distributor so we could get the Brikka into the hands of more people who enjoy a good espresso (and a wonderful pre-workout).

Gym sign provided by Claudia Gay, Online Member at The Strength Co.
Coffee is a very common pre-workout before lifting and our coaches have tried many different types of machines and techniques for making a great cup of coffee in the morning without too much fuss and we all love the Brikka.
We hope that this guide is helpful for anyone who isn’t sure how to use their Brikka properly and that for those of you who lift, we hope that it becomes part of your normal routine for getting stronger.
